Review: "Star Wars: Bounty Hunters #2"
The first part of “Star Wars: Bounty Hunters #2” hits the ground running. Bossk, Boba Fett, and Valance were all able to shine and the frozen Han Solo reveal was quite interesting. However, I feel the pace was not maintained in this second installment.

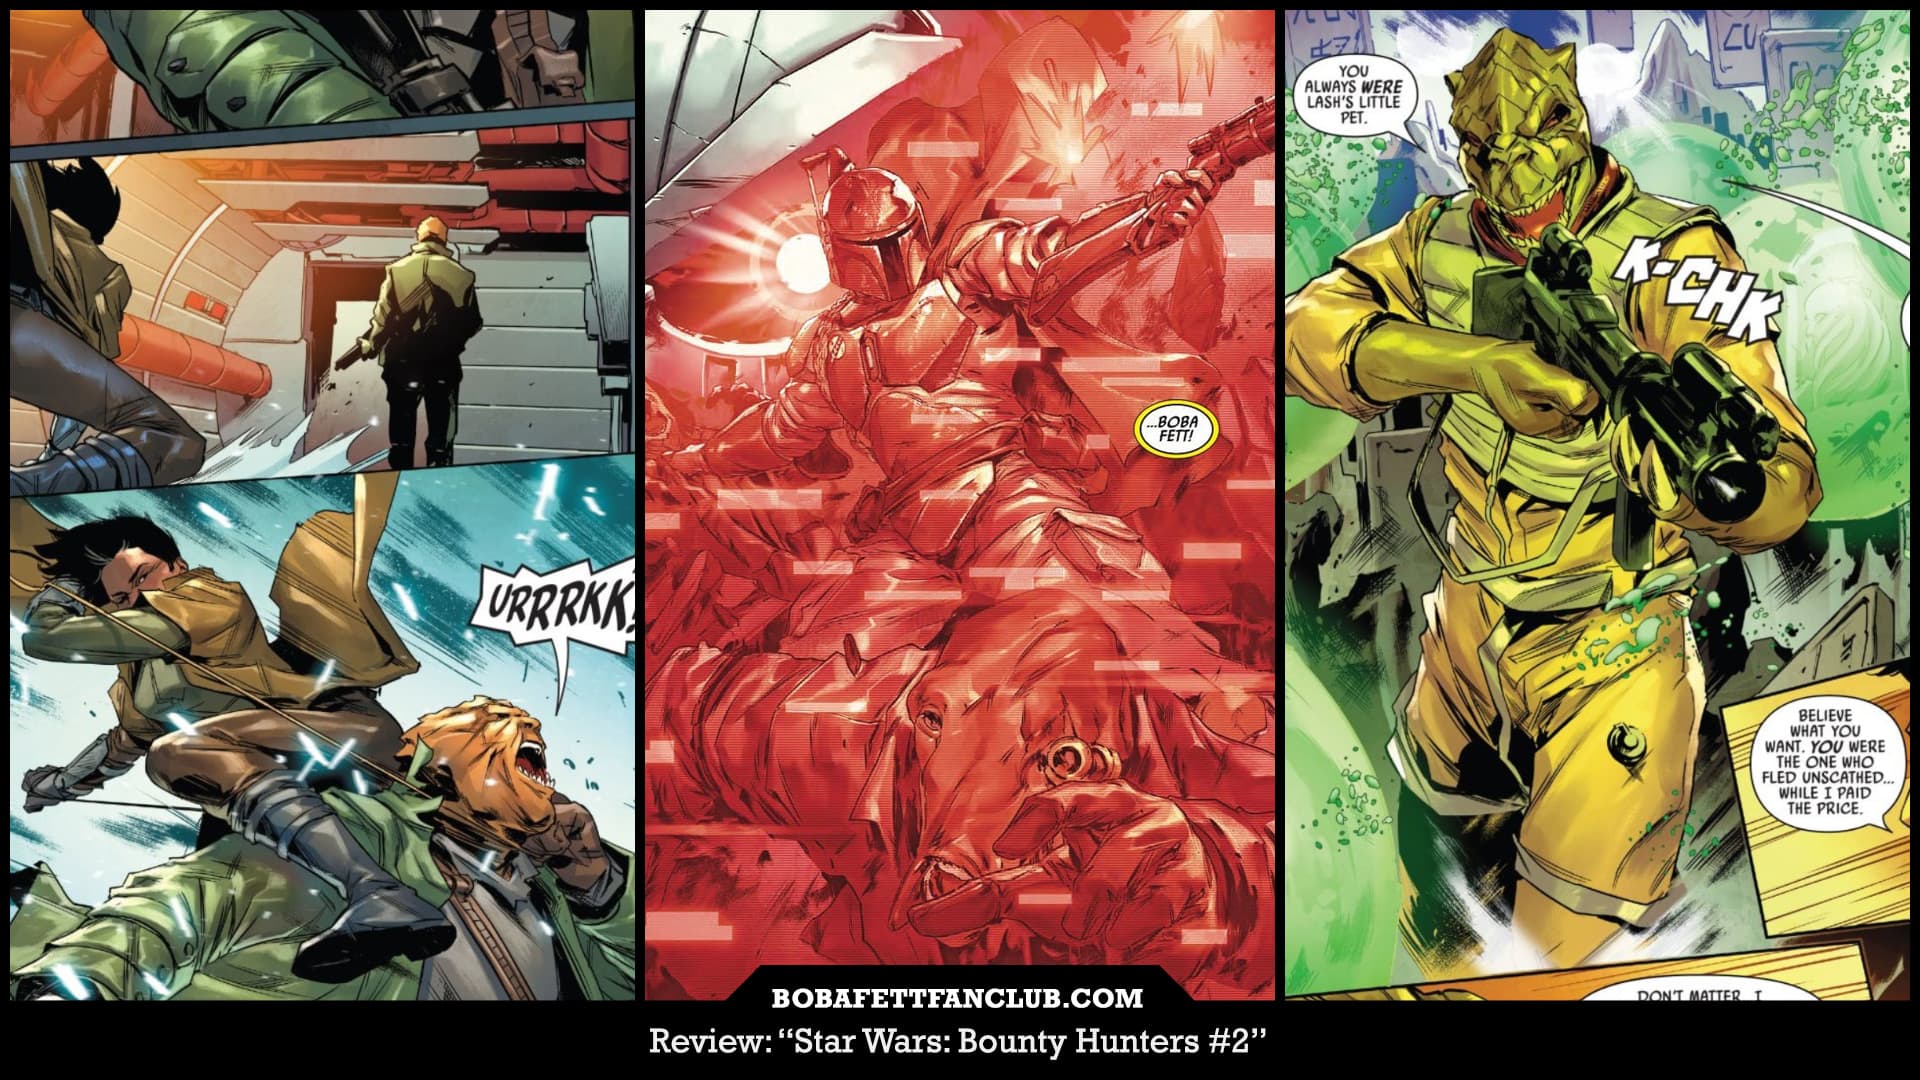
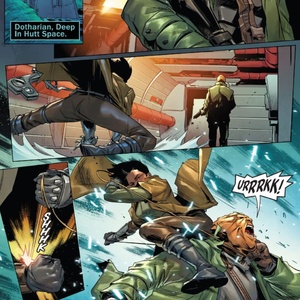
We catch up with Beilert Valance, who is now on the trail of his former mentor Nakano Lash. As discussed previously, she had betrayed her bounty hunter team on a botched job in the past. We are treated to a flashback which details how exactly she met Valance. Apparently, he had stood up for a bar patron who was being unfairly harassed by Imperial stormtroopers and this impressed her. This flashback is relevant because, in the present, one of her associates was a corpse that Valance had found. In order to deduce what happened to him, he uses his cybernetic parts to gain access to a security recording.
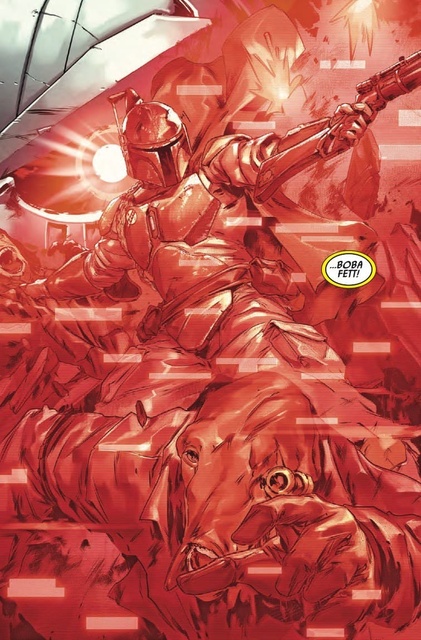
This is probably my favorite panel in the comic: we see Boba Fett wreaking havoc against a group of people. Valance reads the lips of an alien Boba Fett is interrogating, to learn about Galmerah, a graveyard planet. Just as he is leaving in his ship, we see that he is tailed by a bounty hunter we saw in the previous comic. His name is Ooris and he is of the same species as a Jedi master named Oppo Rancisis; Master Oppo was on the Jedi council in “The Phantom Menace.” His upper half is that of an alien humanoid, but his bottom half is basically like a snake. It is an unusual anatomy and it will be interesting to see Ooris throw down: will his serpentine form be an issue?
On Galmerah, Bossk is already there searching for answers. Presumably a few steps behind is T’onga, the sister of one of the bounty hunters who was killed as a result of Lash’s betrayal. She is on Dotharian, deep in Hutt space. She encounters Lord Khamder, the leader of the Mourner’s Wail syndicate and the father of Khamus.
If you’ve read part one you’ll remember that Lash killing Khamus is what started this whole mess, and that we still don’t know who Khamus killed that caused Nakano Lash to become livid at him. T’onga basically iterates to Lord Khamder that the enemy of her enemy is her friend, and that they can work together to avenge both her brother T’ongor and his son Khamus. Out of all the bounty hunters currently in pursuit of Lash, I feel that T’onga is the one least equipped to succeed. She isn’t particularly well-armed and doesn’t have any advantage in her anatomy: she is human and, unlike Boba Fett, does not have high quality gear to compensate for this, such as full Mandalorian armor.
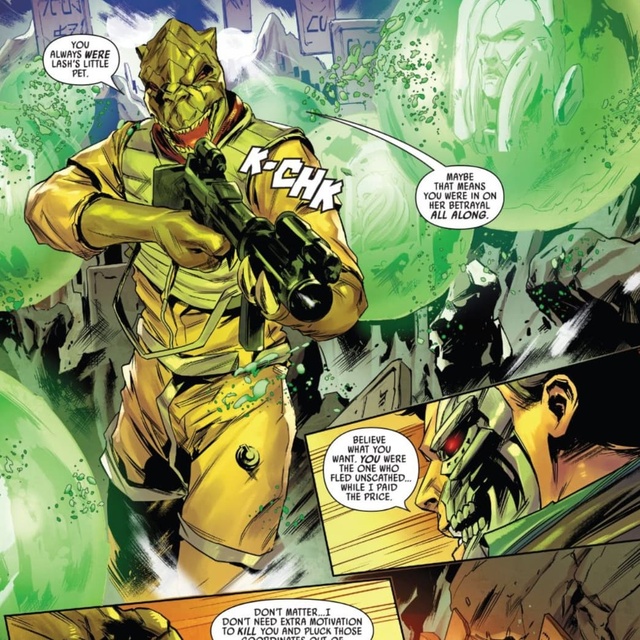
Back on Galmerah, Valance is able to find the graves of Lash’s parents. It turns out that they are uttering a secret message in the Nautolan language (Lash and Jedi master Kit Fisto are both members of this race.) The message contains map coordinates. Before Valance or his butler droid are able to act on this information, they are interrupted by Bossk, who threatens Valance and blows up the grave. This cliffhanger sets up a duel between Bossk and Valance, which we will see in the next installment.
I did not enjoy this comic as much as the first issue. “Star Wars: Bounty Hunters #2” was shorter and felt less interesting.
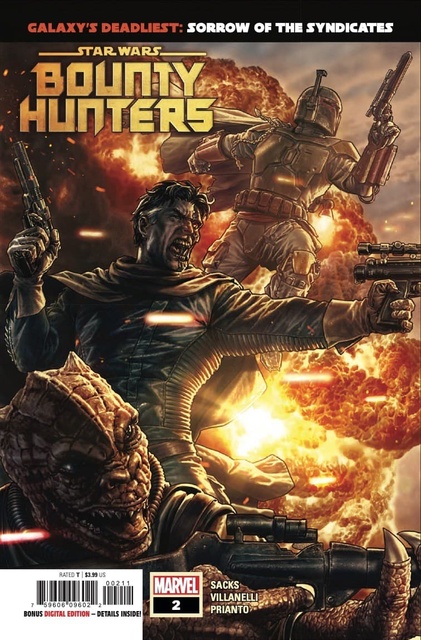
Also, the regular cover of this comic shows Boba Fett, Valance, and Bossk working together against unseen enemies, but I was disappointed to find that something like this did not occur. Hopefully the fight between Bossk and Valance will be memorable. There are at least three more parts confirmed for this series and it could potentially last longer. However, I prefer quality over quantity; I would rather have a solid, well-defined arc rather than a dragged out affair that cheapens over time. We will see what happens.
About the Author, Gustavo Perez
BFFC Member #553


Comments