The Empire Strikes Back (1980)
176 images on 4 pages
Sorted by newest to oldest (default) | Sort by most views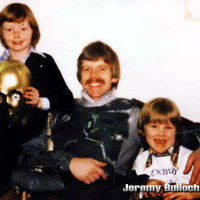 Jeremy Bulloch Unmasked in Costume, With His Children Robbie and Jamie
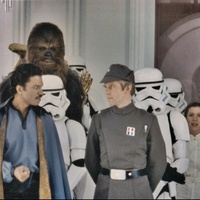 Jeremy Bulloch as Lieutenant Sheckil
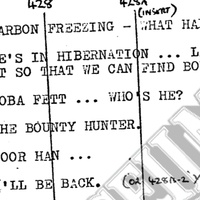 Deleted Scene with "Boba Fett" Dialogue for Luke and Leia
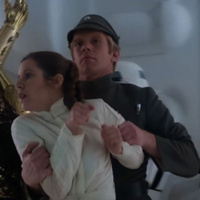 Jeremy Bulloch as Lieutenant Sheckil with Carrie Fisher as Princess Leia
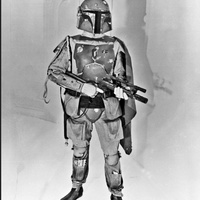 Set Photo of Boba Fett in The Empire Strikes Back (1979)
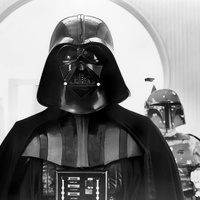 Set photo of Darth Vader and Boba Fett in Cloud City
 "Empire" Production Still of Darth Vader, IG-88, and Boba Fett
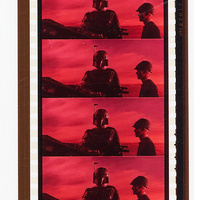 35mm Film Strip
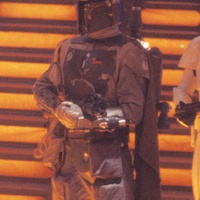 Boba Fett in the Cloud City Carbon Freezing Chamber
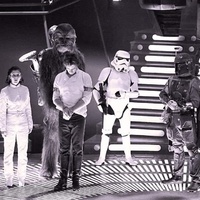 Cloud City
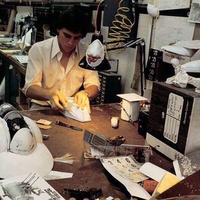 Behind the Scenes: Building Slave I
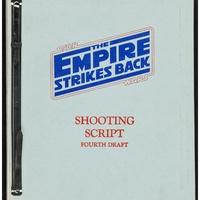 Behind the Scenes: "The Empire Strikes Back" Script, 4th Draft (10/24/78)
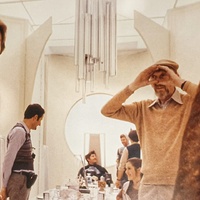 Behind the Scenes: Cloud City Dining Room Scene with Unmasked Darth Vader and Boba Fett
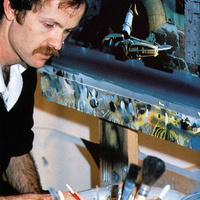 Behind the Scenes: Harrison Ellenshaw Working on the Slave I Matte Painting
 Star Wars Authentics Darth Vader and Boba Fett Photo (18AUTH-166326633663)
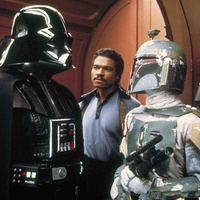 Star Wars Authentics Darth Vader and Boba Fett Photo (17AUTH-11693141)
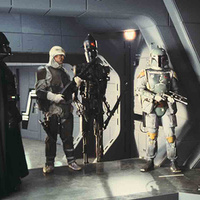 Star Wars Authentics Darth Vader and Bounty Hunters Photo (17AUTH-135623563356)
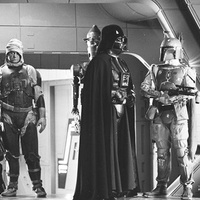 Star Wars Authentics Darth Vader and Boba Fett Photo (19AUTH-409850986098)
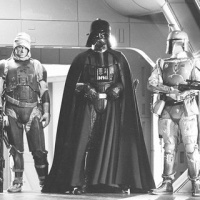 Star Wars Authentics Darth Vader and Boba Fett Photo (19AUTH-409650966096)
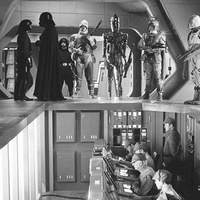 Star Wars Authentics Darth Vader and Bounty Hunters Photo (19AUTH-409550956095)
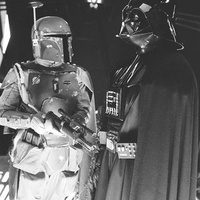 Star Wars Authentics Boba Fett and Darth Vader (19AUTH-409450946094)
 Star Wars Authentics Boba Fett and Darth Vader Photo (19AUTH-409350936093)
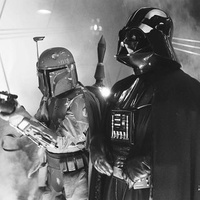 Star Wars Authentics Boba Fett and Darth Vader Photo (19AUTH-199129913991)
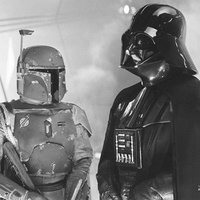 Star Wars Authentics Boba Fett and Darth Vader Photo (19AUTH-199029903990)
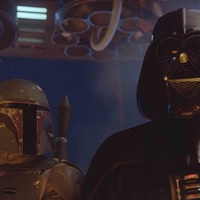 Star Wars Authentics Boba Fett and Darth Vader Photo (18AUTH-166926693669)
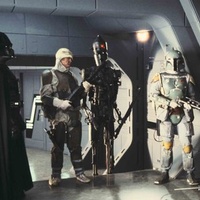 Star Wars Authentics Darth Vader and Boba Fett Photo (18AUTH-166326633663)
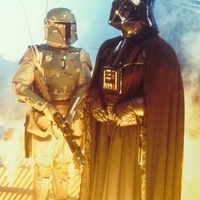 Star Wars Authentics Boba Fett and Darth Vader Photo (18AUTH-164126413641)
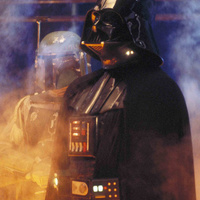 Star Wars Authentics Boba Fett and Darth Vader Photo (17AUTH-11423122)
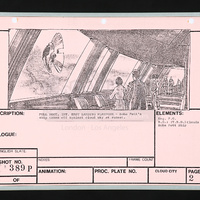 "The Empire Strikes Back" Storyboard, Slave I Takes Off
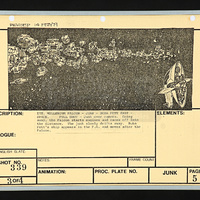 "The Empire Strikes Back" Storyboard, Slave I
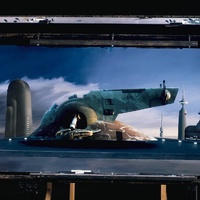 Behind the Scenes: Slave I Matte Painting by Harrison Ellenshaw
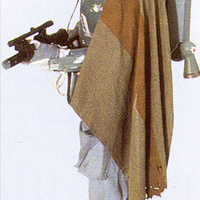 Boba Fett's Cape in "The Empire Strikes Back"
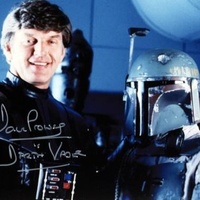 Darth Vader (Dave Prowse) Unmasked and Boba Fett (Color, Autographed)
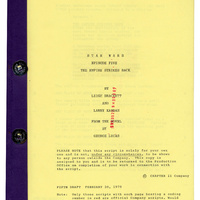 Behind the Scenes: "The Empire Strikes Back" Script, 5th Draft (2/20/1979)
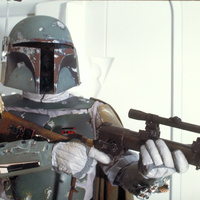 Boba Fett in "The Empire Strikes Back"
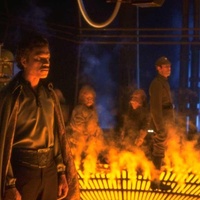 Lando Calrissian with Boba Fett in the Carbon Freezing Chamber
 BTS: Boba Fett Looking at Darth Vader
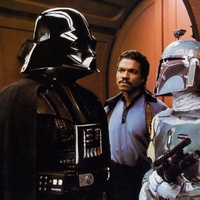 Publicity Still (HQ)
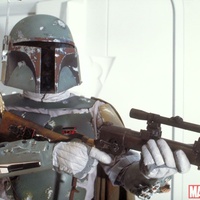 "Empire" Boba Fett
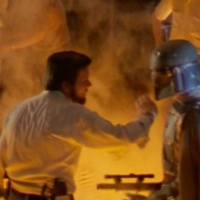 Jeremy Bulloch as Boba Fett with producer Gary Kurtz for Carbon-Freezing Chamber Scene
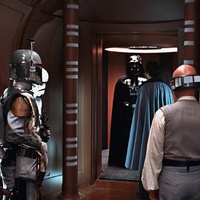 John Morton as Boba Fett with Darth Vader and Lobot
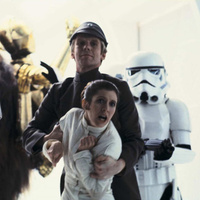 Jeremy Bulloch as Lieutenant Sheckil with Carrie Fisher as Princess Leia
 Jeremy Bulloch as Lieutenant Sheckil
 "Star Wars Authentics" Boba Fett and Darth Vader (2016)
 "Star Wars Authentics" John Morton as Boba Fett (2016)
 "The Empire Strikes Back" Cloud City Hallway Publicity Slide
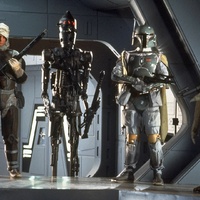 Bounty Hunters, Closer Angle
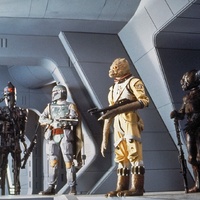 Bounty Hunters, Low Angle
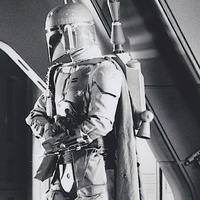 Boba Fett, Left Profile
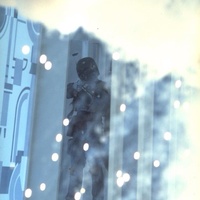 Sparks from Boba Fett vs. Luke Skywalker
About the BFFC Image Galleries
Our Boba Fett galleries feature official and fan-made Boba Fett imagery, often in high resolution. Curated and captioned with attribution, our massive collection is powered by BFFC member contributions for over a quarter century.

