Return of the Jedi (1983)
156 images on 4 pages
Sorted by newest to oldest (default) | Sort by most views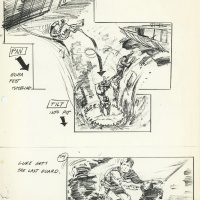 "Return of the Jedi" Preliminary Storyboard – Barge Sequence 103-104
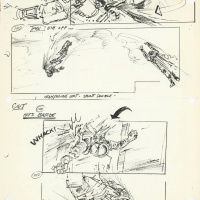 "Return of the Jedi" Preliminary Storyboard – Barge Sequence 99-102
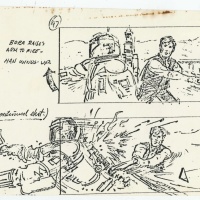 "Return of the Jedi" Preliminary Storyboard – Barge Sequence 97-98
 "Return of the Jedi" Preliminary Storyboard – Barge Sequence 94-97
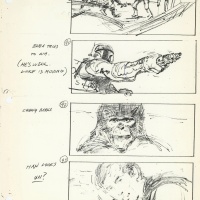 "Return of the Jedi" Preliminary Storyboard – Barge Sequence 90-93
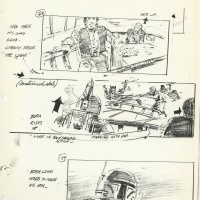 "Return of the Jedi" Preliminary Storyboard – Barge Sequence 88-89
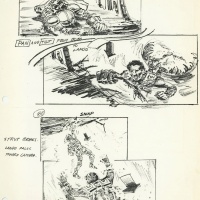 "Return of the Jedi" Preliminary Storyboard – Barge Sequence 79-80
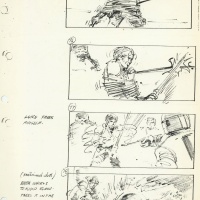 "Return of the Jedi" Preliminary Storyboard – Barge Sequence 75-78
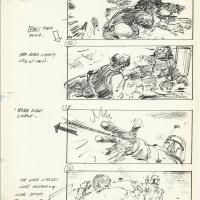 "Return of the Jedi" Preliminary Storyboard – Barge Sequence 71-74
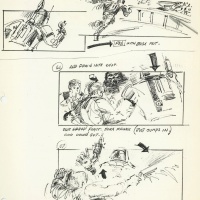 "Return of the Jedi" Preliminary Storyboard – Barge Sequence 65-67
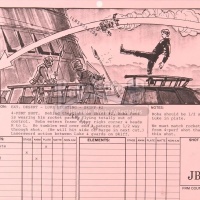 "Return of the Jedi" Storyboard "JB19"
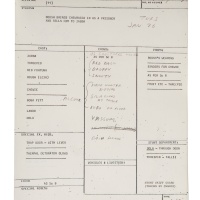 "Revenge of the Jedi" Continuity Breakdown of Third Draft Script
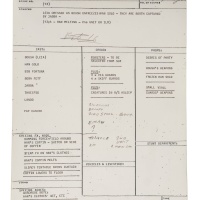 "Revenge of the Jedi" Continuity Breakdown of Third Draft Script
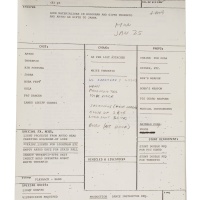 "Revenge of the Jedi" Continuity Breakdown of Third Draft Script
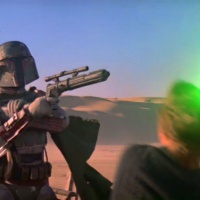 Boba Fett vs. Luke Skywalker on Jabba's Skiff
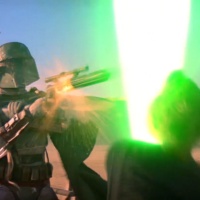 Boba Fett vs. Luke Skywalker on Jabba's Skiff
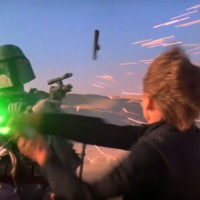 Boba Fett vs. Luke Skywalker on Jabba's Skiff
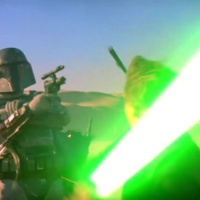 Boba Fett vs. Luke Skywalker on Jabba's Skiff
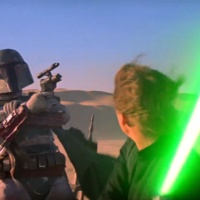 Boba Fett vs. Luke Skywalker on Jabba's Skiff
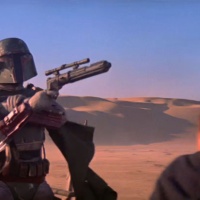 Boba Fett vs. Luke Skywalker on Jabba's Skiff
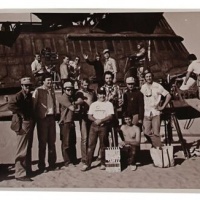 BTS Crew Photo with Unmasked Boba Fett
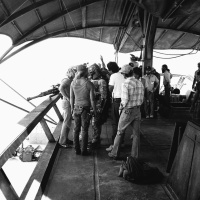 BTS of Boba Fett at the Sarlacc Pit Set
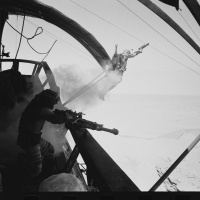 BTS of Boba Fett at the Sarlacc Pit Set
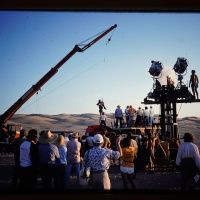 BTS of Boba Fett at the Sarlacc Pit Set
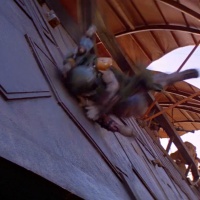 Boba Fett slamming into Jabba's Sail Barge
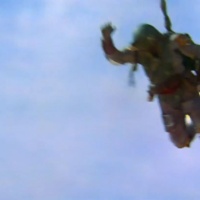 Boba Fett after being hit by Han Solo
 Boba Fett vs. Luke Skywalker on Jabba's Skiff
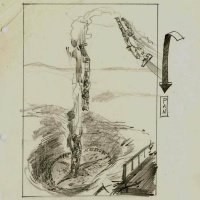 "Return of the Jedi" Storyboard, Boba Fett into the Sarlacc (Unverified)
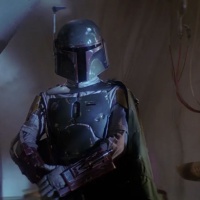 Boba Fett in Jabba's Palace
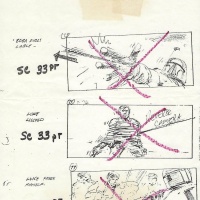 "Return of the Jedi" Sarlacc Battle Production Storyboard with Boba Fett
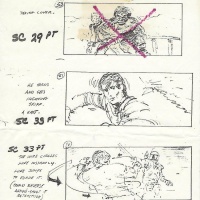 "Return of the Jedi" Sarlacc Battle Production Storyboard with Boba Fett
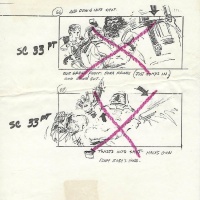 "Return of the Jedi" Sarlacc Battle Production Storyboard with Boba Fett
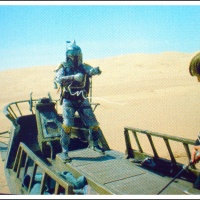 Boba Fett vs. Luke Skywalker on the Skiff
 Boba Fett vs. Luke Skywalker on the Skiff
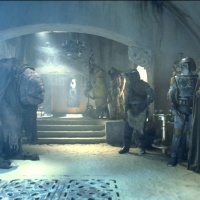 Head-to-toe Boba Fett in Jabba's Throne Room
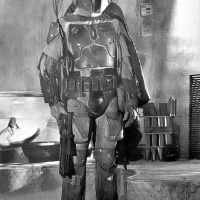 Behind the Scenes: "Return of the Jedi" Boba Fett (Sharper)
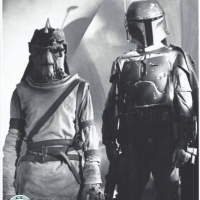 Nikto Guard and Boba Fett in Jabba's Palace
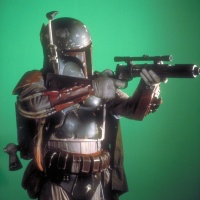 "Return of the Jedi" Boba Fett Promotional Photo Shoot
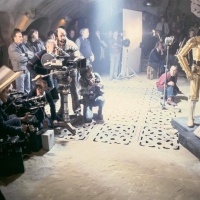 Behind the Scenes at Jabba's Palace Including Jeremy Bulloch
 Production Still of Boba Fett in Return of the Jedi (1982)
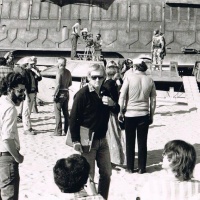 "Return of the Jedi" Buttercup Valley Set (1982) with Robert Watts and an Unmasked Boba Fett in Background
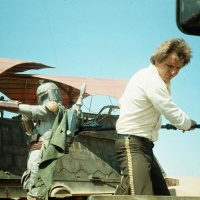 BTS of Boba Fett before being hit by Han Solo
 Alternate Angle of the Bounty Hunters
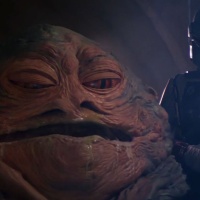 Jabba the Hutt with Boba Fett, Looking at Luke in the Rancor Pit
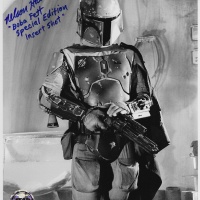 "Return of the Jedi" Boba Fett Publicity Shot, Signed by ROTJ:SE Fett Actor Nelson Hall
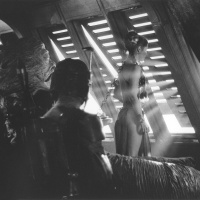 Boba Fett and Princess Leia on Jabba's Sail Barge
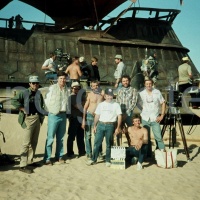 "Return of the Jedi" Buttercup Valley Set (1982)
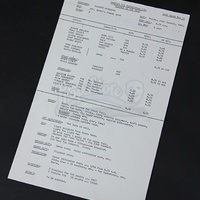 "Revenge of the Jedi" Call Sheet for January 25, 1982 with Jeremy Bulloch Listed
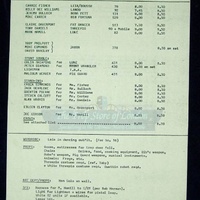 "Revenge of the Jedi" Call Sheet for February 1, 1982 with Jeremy Bulloch Listed
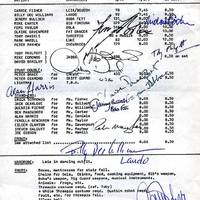 "Revenge of the Jedi" Call Sheet for January 28, 1982 with Jeremy Bulloch Listed
About the BFFC Image Galleries
Our Boba Fett galleries feature official and fan-made Boba Fett imagery, often in high resolution. Curated and captioned with attribution, our massive collection is powered by BFFC member contributions for over a quarter century.

