Our Boba Fett galleries feature official and fan-made Boba Fett imagery
Curated and captioned with attribution, our massive collection is powered by BFFC member contributions for over a quarter century. Often in high resolution, too.

Galleries by the Numbers
19,571
images and counting
images and counting
115
albums of similar pics
albums of similar pics
1,361
saves by members
saves by members
16,241,650
hits to enlarge
hits to enlarge
Browse by Albums
Film, Television, and Digital Media
 Angry Birds Star Wars17 images
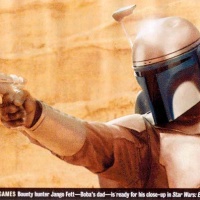 Attack of the Clones (2002)192 images
 Droid Tales (2015)30 images
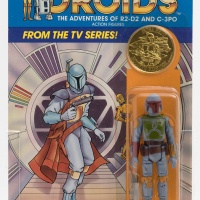
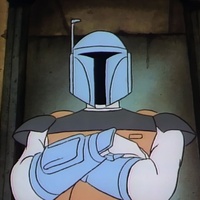 Droids (1985)40 images
 Non-Film Behind the Scenes164 images
 Other Appearances (Film and TV)58 images
 Return of the Jedi (1983)158 images
 Robot Chicken Star Wars44 images
 Special Editions (1997)47 images
 Star Wars Holiday Special (1978)103 images
 Star Wars: Galaxy of Adventures5 images
 Star Wars: Visions15 images
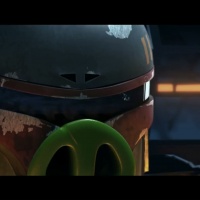
 The Book of Boba Fett (2021-2022)261 images
 The Clone Wars (Animated, 2008-2012)70 images
 The Empire Strikes Back (1980)176 images
 The Mandalorian373 images


Official Licensed Art and Fan Art
 3D27 images
 Digital518 images
 Drawing157 images
 Featured Artist: Brian Kesinger25 images
 Featured Artist: Calum Jones14 images
 Featured Artist: Craig Davison8 images
 Featured Artist: Dave Dorman48 images
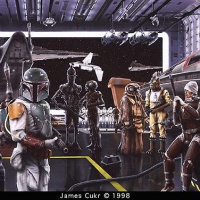 Featured Artist: James Cukr4 images
 Featured Artist: Joe Corroney28 images
 Featured Artist: Joe Johnston (Non-Vintage)4 images
 Featured Artist: Marco Nero16 images
 Featured Artist: Nilo Rodis-Jamero (Non-Vintage)22 images
 Featured Artist: Pablo Olivera24 images
 Featured Artist: Rob Kaz18 images
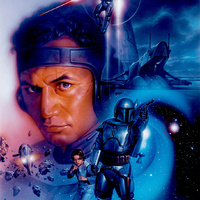 Featured Artist: Tsuneo Sanda36 images
 Featured Collection: Animated GIFs28 images
 Featured Collection: Blue Milk Special75 images
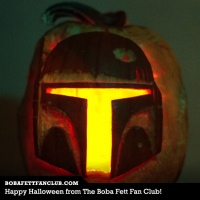 Featured Collection: Boba Fett and Mandalorian Pumpkins11 images
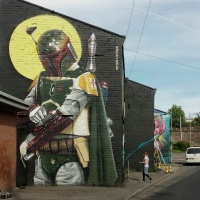 Featured Collection: Boba Fett Graffiti and Street Art11 images
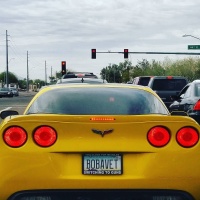 Featured Collection: Cars and License Plates46 images
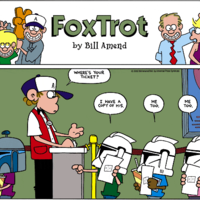 Featured Collection: Comic Strips15 images
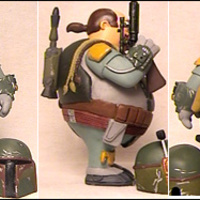 Featured Collection: Custom Action Figures11 images
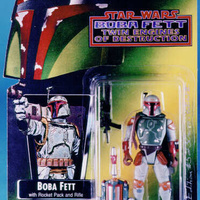 Featured Collection: Custom Action Figures by Gary Weaver II15 images
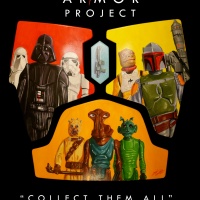 Featured Collection: The ArTmor Projects82 images
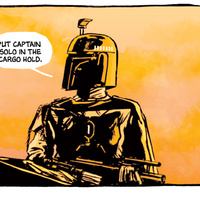 Featured Comic: "Darth Days" by George Folz31 images
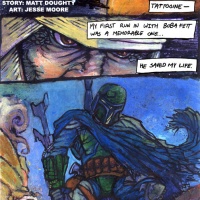 Featured Comic: "Dengar's Tale" by Jesse Moore11 images
 Featured Comic: "Last Man Standing" by Mitch Brown10 images
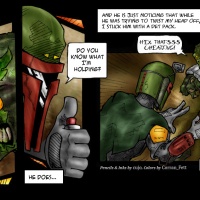 Featured Comic: "One of those Days" by cujo and Corran_Fett6 images
 Figure / Sculpture33 images
 Illustration253 images
 Mixed Media101 images
 Painting154 images
 Photography108 images
Comics
 "Boba Fett" series (1995 - 1998)46 images
 "Darth Vader" series (2015 - Present)18 images
 "Star Wars" series (2015 - Present)40 images
 Agent of Doom (2000)10 images
 Agent of the Empire: Hard Targets (2013)4 images
 Black, White & Red (2025-2026)20 images
 Blood Ties I and II (2010 - 2013)29 images
 Dark Empire I and II (1992 - 1995)20 images
 Enemy of the Empire (1999)17 images
 Jango Fett (2024)41 images
 Jango Fett: Open Seasons (2002-2003)7 images
 One-Shots31 images
 Shadows of the Empire (1996 - 2000)19 images
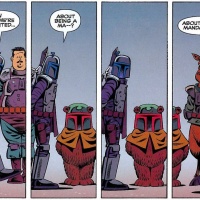 Star Wars Tales (2000 - 2005)20 images
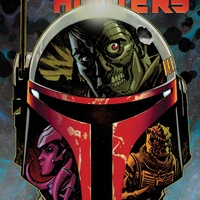 Star Wars: Bounty Hunters (2020-2024)48 images
 Star Wars: The Book of Boba Fett (2026)8 images
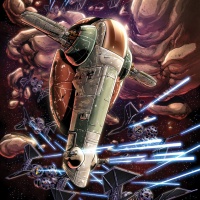 Star Wars: The Force Unleashed II16 images
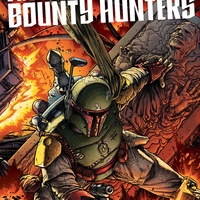 Star Wars: War of the Bounty Hunters201 images
 The Frozen World of Ota (1980)58 images
 The Mandalorian29 images
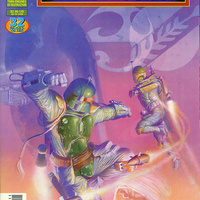 Twin Engines of Destruction (1996)18 images
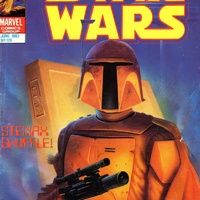 Uncategorized204 images
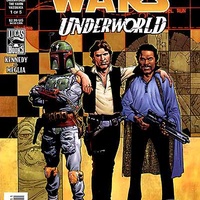 Underworld (2000 - 2001)14 images
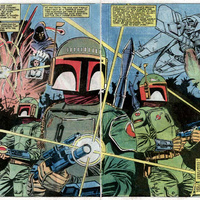 Vintage Marvel Star Wars (1980 - 1986)43 images
Costume Guide
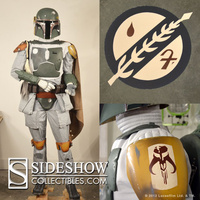
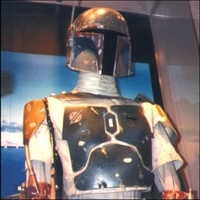 Boba Fett's Armor4 images
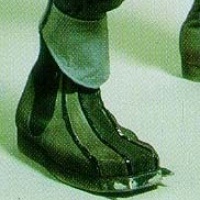 Boba Fett's Boots16 images
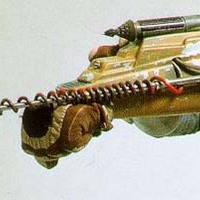 Boba Fett's Gauntlets22 images
 Boba Fett's Helmet10 images
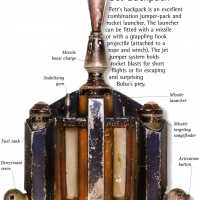 Boba Fett's Jetpack3 images
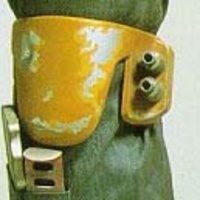 Boba Fett's Knees16 images
 Boba Fett's Shoulders13 images
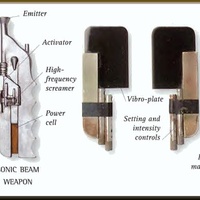 Boba Fett's Tools8 images
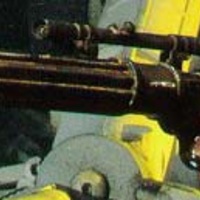 Boba Fett's Blasters44 images
 Boba Fett's Iconography23 images
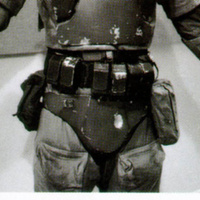 Boba Fett's Midsection17 images
 Fans in Costume (Cosplay)339 images
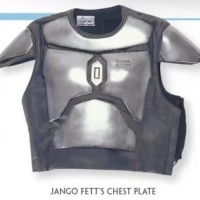 Jango Fett36 images
 Mandalorian Blueprints31 images
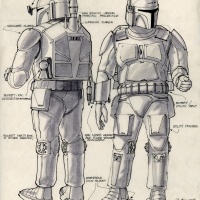
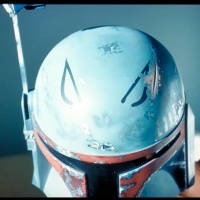 Pre-Production #1 (PP1) Boba Fett28 images
 Pre-Production #2 (PP2) Boba Fett30 imagesPre-Production #3 (PP3) Boba Fett8 images
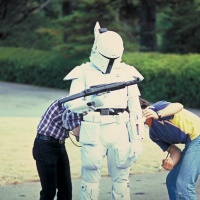 Prototype (White) Boba Fett25 images
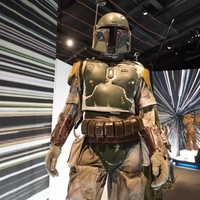 Touring Costumes and Props52 images